
We recently moved our support system for our HR SaaS over to HelpScout, predominantly as a cost saving exercise. So far our support crew is loving HelpScout, however there were a few key things missing compared to our old support system - mainly extra information about our customers, such as the current plan they are one, and when their subscription expired etc, which were pushed to our old system via API calls.
We investigated HelpScout’s API infrastructure, which was powerful, but would come at an extra cost based on number of users, which was going against our plan to save costs. But then, while perusing the HelpScout documentation, I noticed that they had the ability to add your own custom sidebar widget to the communication screen. No API needed! This sounded perfect.
More digging, and I found out that HelpScout can actually send a WebHook to any address when the communication screen is opened. This is done via a Dynamic App, and the process is explained on their developer website on this page.
In essence, when you open a conversation with a customer, HelpScout will send a packet of information back to your app with the customer details (including their email address), and all your app needs to do is to send back a pre-formatted HTML snippet with any customer information that you think will be useful for your support team to know.
Here is the sidebar on our HelpScout conversation page, showing the information that we pull and can view while talking to our customer:

Ta Da! Our HelpScout mailbox page now has useful info on the right hand side!
As you can see on the sidebar (on the right hand side), we show the company name that this user registered in our HR system, and the date that their current plan expires. We also show things like the timezone that the user (and the company) have set up, and the number of employees they have versus the limit of employees they can have on their current plan. We also show their Stripe identifiers (in case we need to lookup their account details in there) and the modules that they have activated in our HR system.
This helps us to answer the common questions, such as “When is my subscription renewal due?” or “How many employees can I have on the system?” without having to leave this screen.
Oh, and under the company name we also show a couple of badges that denote whether this user is the ‘Owner’ of the company (i.e. the person who set it up and is paying for it on their credit card), and also whether this company is currently on a paid subscription or in trial mode, or is an expired trial (Yes, we provide support to customer in trial mode!).
In the middle section there, you can see that HelpScout gives us other useful information such as the browser and operating system that the user is using.
How do we set this up? Well, it is actually quite easy and straightforward. Here is a step by step (taken from our own system, which took a couple of hours to set up). Note: You have to be on the HelpScout Standard or Plus plan for this to work, it won’t work on the Basic plan.
Step 1: Set up a custom app in HelpScout
Click on ‘Manage’ then ‘Apps’ from your HelpScout main dashboard.

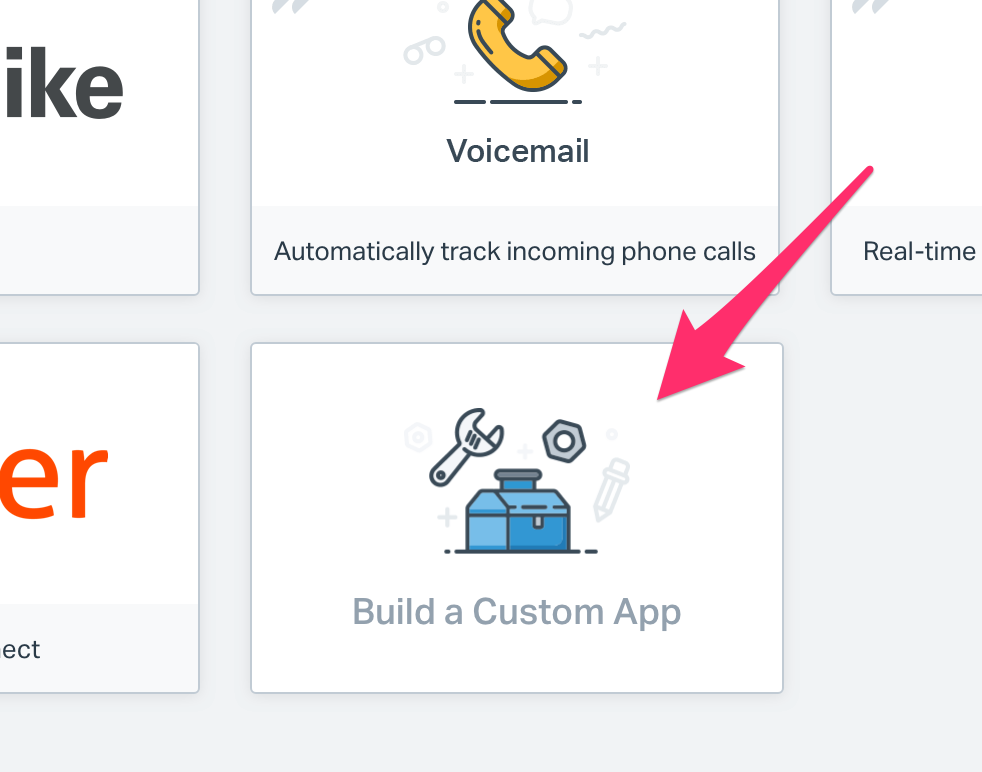
Then scroll down to the bottom of all the apps on this screen and choose ‘Build a Custom App’
Now click the ‘Create App’ button on the left.

Fill in the following fields (explained below the graphic).

App Name - can be anything you like but I would suggest calling it the same as the app you are linking to.
Content Type - make sure you change this to ‘Dynamic Content’.
Callback URL - This will be the URL we will create next, that HelpScout will call to extract the data from your app.
Secret Key - This is the confidential key that HelpScout and your app will use to verify that the callback above IS in fact being called from HelpScout and not via some nefarious infiltrator trying to steal your customer information. Make sure you use a hard to guess key (Tip: I highly recommend using RandomKeyGen to create one for you to choose from).
Debug Mode - Leave this off for now.
Mailboxes - Nominate the mailboxes in HelpScout that the customer information will be sent to (i.e. you may want it in your Support chat windows that are triggered by your paying users, but not on your Website chat box where your sales team talks to leads not in your system.
Hit ‘Save’ to save this custom app to your HelpScout system.
Step 2: Create the webhook endpoint in your app
Ok, now head over to your app to create the endpoint that HelpScout will call whenever you open the nominated Mailbox communication screen.
I will show you the snippet from our own website, which uses Ruby (not Rails, but rather a Sinatra based DSL framework).

The concept is pretty much the same in any language, and I will step you through the various stages.
Line 1 is setting up a POST endpoint called ‘/sendinfotohelpscout’ - this is the same name endpoint as we set up in the ‘Callback URL’ in Step 1 above. Note that this has to be a POST handler, and not a normal GET handler. Note also above that we had to nominate to turn OFF cross-site protection via the ‘csrf_protection => false’ flag. This is because we don’t normally allow external sites from our own domain to POST information to our app for security purposes, however in this case, we have to allow HelpScout to post to this particular endpoint.
Line 2 is calculating the SHA1 signature hash of the body contents received in this request, using the same ‘Secret Key’ as we set up in Step 1 above. Note that for best practice, we store the secret key in an environment variable called ‘HELPSCOUT-SIGNATURE-KEY’ rather than embed it in our code.
Line 3 then compares the signature (which is sent by HelpScout is a request header field called ‘HTTP-X-HELPSCOUT-SIGNATURE’) with the one we generated above. If they match, then we know that this is a legitimate POST from HelpScout, if they don’t, then we can safely ignore this request and jump straight to Line 15 where we return a 403 (Unauthorised) response.
Line 5 tells our app to return any content generate as a JSON file rather than HTML. Then Line 6 extracts out the JSON data that is posted to our system so that we can parse the customer’s email. Here is a sample of the JSON packet that is sent to our app from HelpScout.
ticket: {
   id: 12345,
   number: 56789,
   subject: "Help me!"
},
customer: {
   id: 54321,
   fname: "Fred",
   lname: "Smith",
   email: "fredsmith@mailinator.com",
   emails: ["fredsmith@mailinator.com"]
},
mailbox: {
   id: 87654,
   email: help@domain.com
}
The bit we are after is in ‘customer -> email’, so in Line 8, we try and fetch a record from the User data table where the user’s email is contained in this JSON field. Note: You can find by other information such as the user name or ID, but in our case, the Email address of the customer is a unique field in our User table, so we used that.
If we successfully find the user, then we return the sidebar HTML snippet in Line 10, otherwise we send back a ‘Not found’ message in Line 12.
Please note that the returned HTML or error message has to be contained within a JSON message like:
{"html": “This is the return error or HTML stream”}That’s it for the Callback endpoint - only 17 lines of code!
Step 3: The sidebar snippet
You can see in the code snippet in Step 2 above that if the User is found in our system via their email, then our app renders an HTML snippet called ‘integrations/third-party/helpscout-feed’. This is not an entire HTML page, but rather a small snippet consisting of <UL> and <LI> directives. Here is a shortened example of an ERB script to generate the snippet:
<ul class="c-sb-list c-sb-list--two_line">
  <li class="c-sb-list-item">
    <span class="c-sb-list-item__label">
      Customer Since
      <span class="c-sb-list-item__text">
        <%= @user.signup_date.strftime("%d/%m/%Y") %>
      </span>
    </span>
  </li>
  <li class="c-sb-list-item">
    <span class="c-sb-list-item__label">
      No. of Employees
      <span class="c-sb-list-item__text">
        <%= @user.employee_count %>
      </span>
    </span>
  </li>
</ul>
<% if @user.trial_expired? -%>
    <span class="badge yellow">Trial Expired!</span>
<% end -%>
Don’t worry too much about the various CSS classes on here such as ‘c-sb-list’ or ‘c-sb-list-item’ etc. These all affect how the information will be displayed in the sidebar, and are explained in full on this page. And remember that we don’t need the <HTML> or <BODY> etc. tags wrapped around this snippet, so please be sure to generate a partial snippet that doesn’t use your default site application layout. (You can see in our code above that we specified the :layout => false directive in line 10 which prevents the system from wrapping the snippet in the application look and feel.
Feel free to embed whatever customer information you would like in the snippet. You can even create collapsible sections, and use icons. See the Advanced Style Guide Components for the CSS classes that you will need to do this.
That is it! Once you have saved and deployed the new chunk of code for the endpoint (and the ERB snippet that it returns) to your server, you should be able to open a conversation from one of your users, and your sidebar should be populated like ours is right at the top of this post.
Do you have any creative ideas as to how we can present information on this sidebar? If so, I would love to hear from you in the comments below!